
I had an old PC that I built 10 years ago that was running extremely slow due to years of inactivity. I decided to use this as an opportunity to create a home lab and have a learn some networking and security concepts.
Goals:
- Wipe old data from PC and install Linux distribution
- Download virtualization software and run an instance of Windows
PC Specs:
- CPU – Intel Core i7-4790k 4 Ghz Quad Core Processor
- GPU – GeForce GTX 970 4 GB
- Ram – G.Skill Ripjaws X 16 GB (2 x 8 GB)
- Motherboard – ASRock Z97 Anniversary ATX LGA1150
- Storage – Western Digital Caviar Blue 1 TB 3.5″ 7200 RPM
Installing Linux
I began this project by deciding on which Linux distribution to boot on to the computer. After careful consideration, I decided to go with Linux Mint 21.3 Cinnamon for its more beginner friendly UI and simple installation process, while also not compromising on its power capabilities.
I downloaded the Linux .ISO file from the official Linux Mint website and moved it to a bootable USB drive. After this, I powered off my PC and restarted it to get to the BIOS screen. From there, I selected the bootable drive as the flash drive with the Linux .ISO file and ran it. This caused the hard drive to be reformatted, which in turn wipes it in order to get rid of the old Windows 7 OS to install the new operating system. Luckily, I had already backed up any important files on a separate hard drive. After following the simple setup procedure, I finally had Linux running on my machine.
Setting Up Virtualization
After doing some research, I decided on using VirtualBox for my virtualization software since I had previous hands on experience with the program from previous projects. I went to the official VirtualBox Website and downloaded the Oracle Linux 10 / Red Hat Enterprise Linux 10 version, as this version was best suited for my Linux distro.
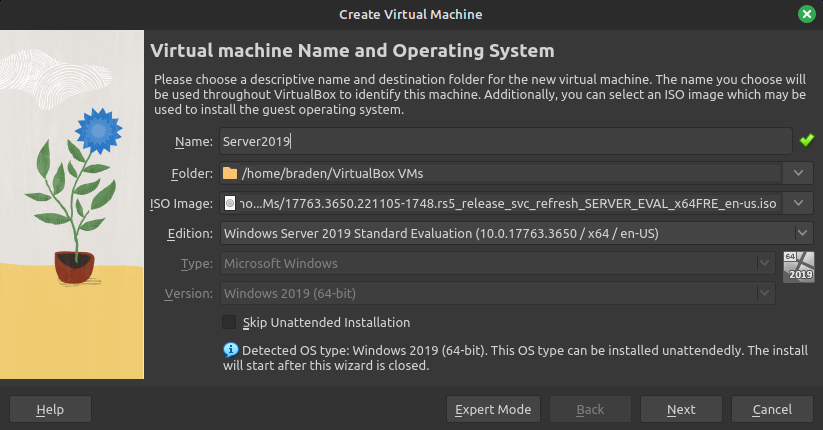
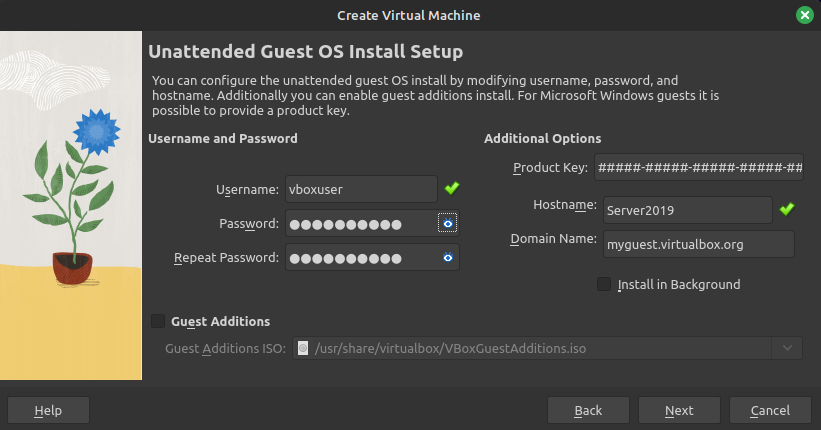
After the installation, I went ahead and picked an operating system to run on my virtualized device. I went to the official Windows Server 2019 website and downloaded the latest .ISO file to run. I opened VirtualBox and selected ‘New’ and added the ISO Image that I downloaded previously.
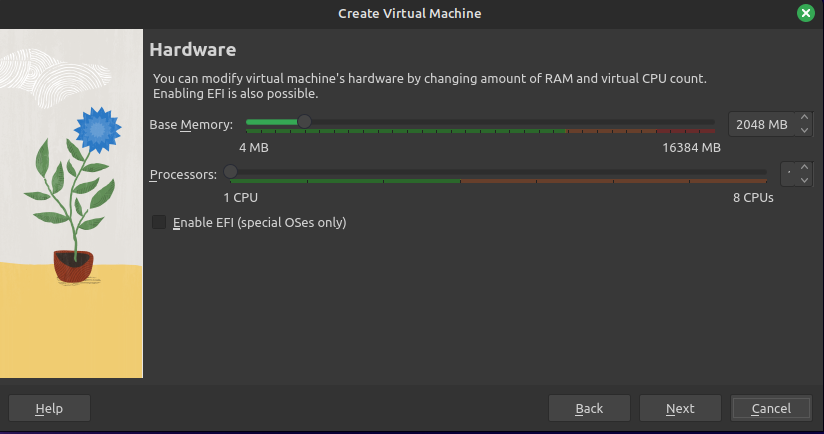
I then went through the basic setup process of dedicating RAM, CPU and storage to the virtual machine for it to run properly.
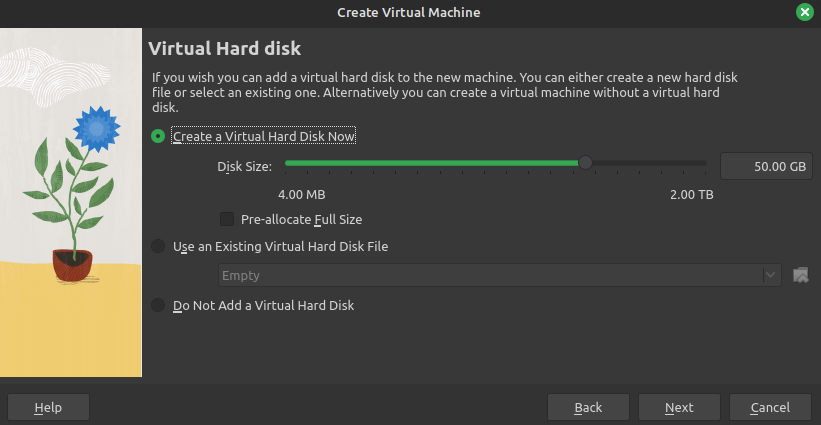
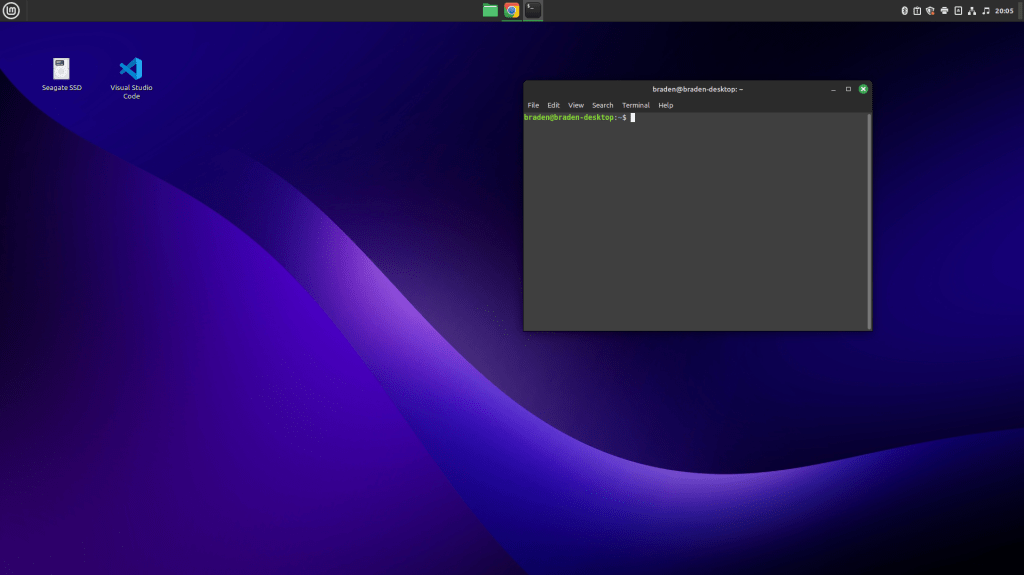
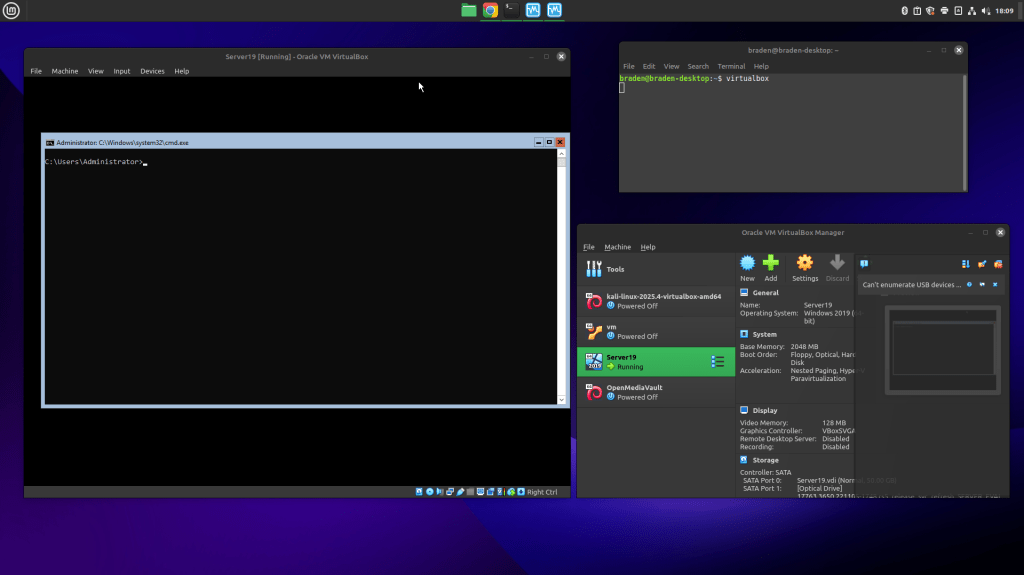
After going through these steps, I finally booted up my virtual machine and was able to have it up and running without issue.
The Final Product:
Topic Learned:
- OS Installation
- Linux Software Troubleshooting
- Virtualization
